
MTN Cloud Service Catalog Guide (NAT) on MTN Cloud
MTN Cloud Service Provisioning Workflow(NAT)-v1.0
Overview
This guide walks through provisioning the MTN NAT service from the MTN Cloud catalog. You create an instance, configure two network interfaces (WAN and LAN), provision and wait for the instance, assign a security group with the required firewall rules, and finally verify that both SSH and the web GUI are reachable.
Prerequisites
- Access to the MTN Cloud console at https://console.cloud.mtn.ng
- At least two networks available (one external/internal for WAN, one private for LAN)
- A floating IP available for assignment to the WAN interface
Phase 1: Provision MTN Cloud Service –> Catalog in MTN Cloud
Step 1.1: Create Instance
- https://console.cloud.mtn.ng → Authentication → Provisioning → Catalog → MTN NAT
- Configuration:
- Plan: Small, Medium & Large
- Volume: Fixed 50GB
- Security Group: Default & (see Step 1.4)
- Network: Minimum 2 Network (see Step 1.2)
- Floating IP: Selected
- Advanced options: check the ‘Skip agent install’ option.
- Click Order Now
Step 1.2: Configure Network Interfaces (CRITICAL)
Network Interface 1 (WAN):
- Network: Internal/External Network
- IP Mode: DHCP
- Primary Interface: YES
- Assign Floating IP: YES
Network Interface 2 (LAN):
- Network: Private Network(192.168.1.191)
- IP Mode: DHCP

Step 1.3: Provision and Wait
- Click Complete
- Wait 5-10 minutes for provisioning
- Note the Floating IP assigned (e.g., 102.88.134.190)
Step 1.4: Assign Security Group
- Create a new Security group
- Add rules for port 22, 443, 1194, 4500, 500, ICMP & All (0.0.0.0)

Step 1.5: Verify Initial Access
Using the default credentials (if not changed)
- Username: admin
- Password: cloud
The user can create a new user or change the default admin password
- Access MTN Cloud Service Console
- Verify that SSH works
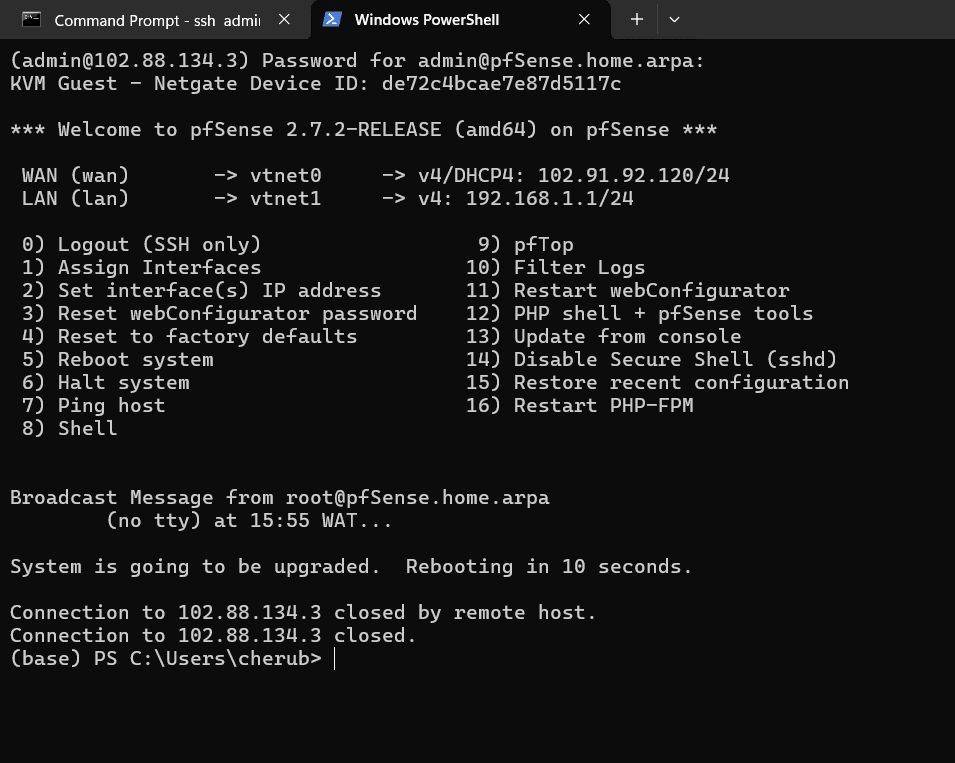
- Verify that web GUI works

Quick Reference
- Console: https://console.cloud.mtn.ng
- Catalog path: Authentication → Provisioning → Catalog → MTN NAT
- Volume: Fixed 50GB
- Security group ports: 22, 443, 1194, 4500, 500, ICMP & All (0.0.0.0)
- Default credentials: admin / cloud
Tips & Notes
- Configuring the network interfaces in Step 1.2 is critical: a minimum of two networks is required (WAN and LAN).
- Allow 5-10 minutes for provisioning to complete before verifying access.
- Change the default admin password (or create a new user) after first login.